- Published on
How to change docker single-node deployment application to cluster deployment?
- Reading time
- 5 分钟
- Page view
- -
- Author

- Name
- Yicong
- Github
In project development, Docker Compose is a common tool that helps developers easily start multi-container applications locally. However, when the application is expanded to the production environment, the single-node Docker Compose may not meet the high availability, fault tolerance and expansion requirements. At this time, we can consider migrating the Docker Compose deployment to a cluster environment such as Kubernetes to achieve cluster management of applications.
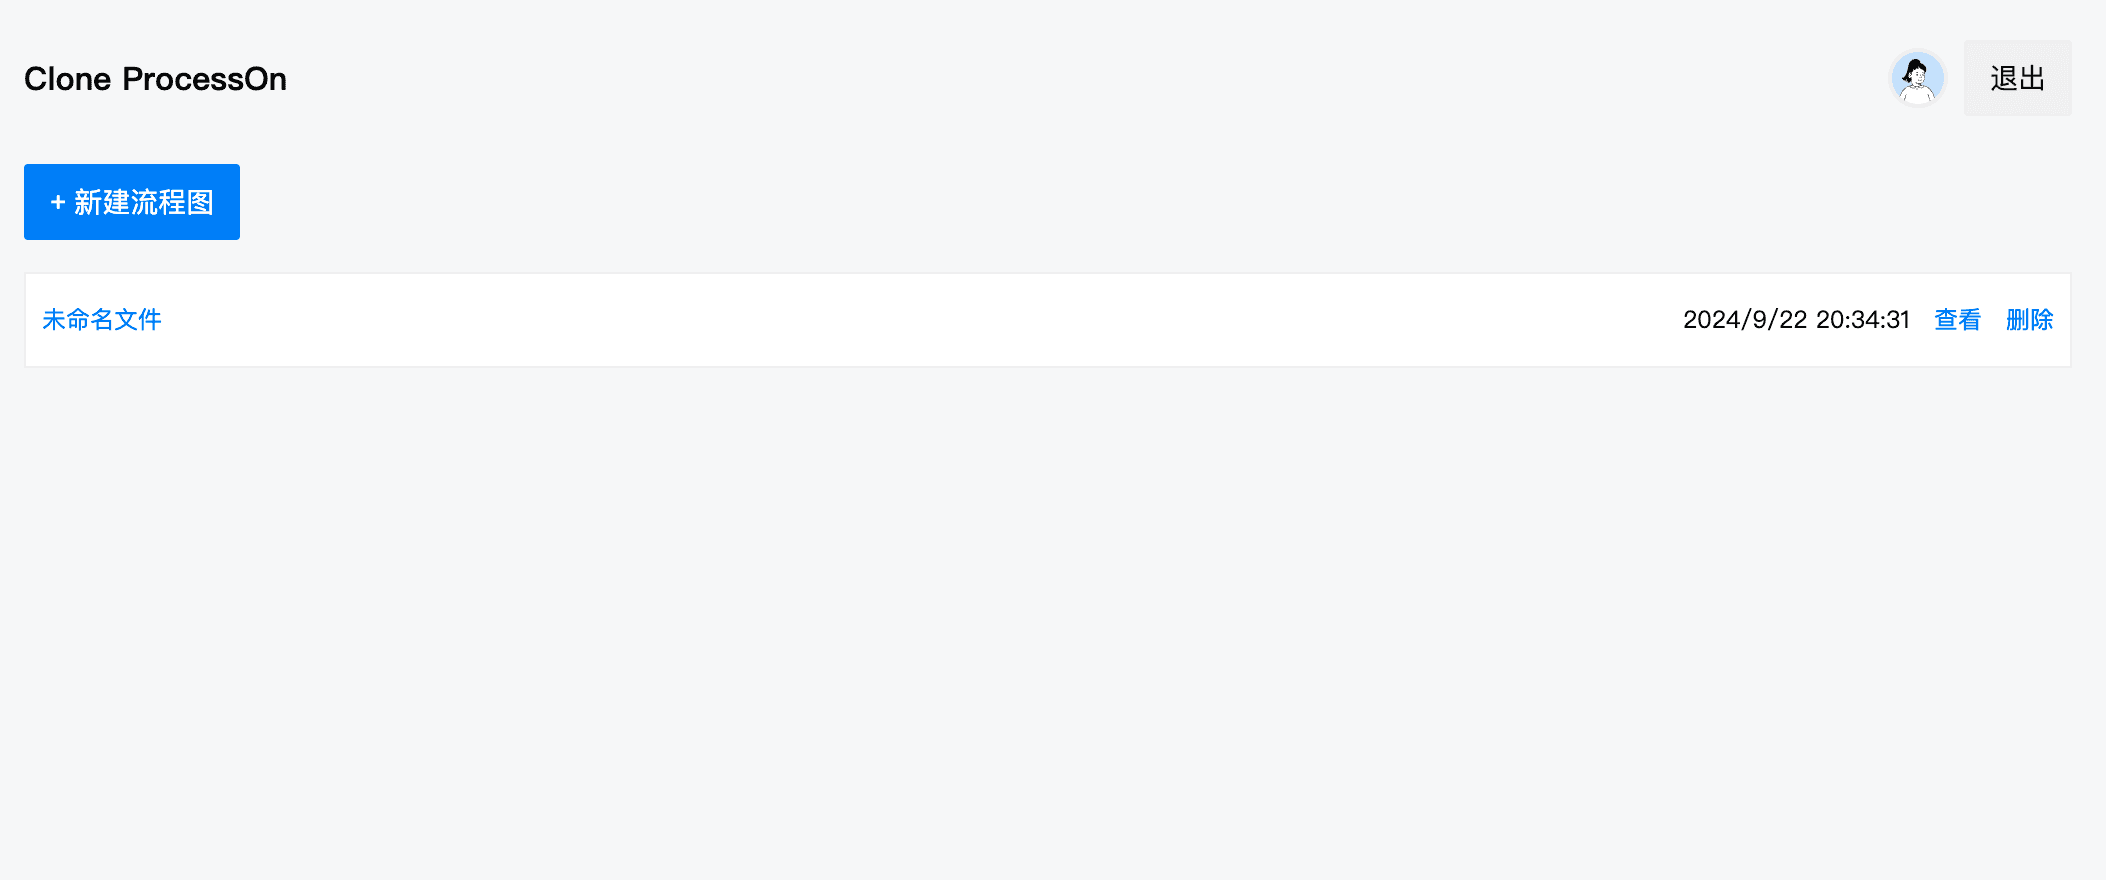
This article will take a Node.js application (an online flowchart system) that I developed before as an example, using PostgreSQL and Adminer to manage the database, and introduce how to convert a single-node Docker Compose deployment into a Kubernetes cluster deployment.
Docker Compose configuration
This is a typical docker-compose.yml file, which defines an environment that uses PostgreSQL as a database, Adminer as a database management interface, and a Node.js application as a service.
version: '3.8'

services:
  db:
    image: postgres
    volumes:
      - pg_data:/var/lib/postgresql/data
    restart: always
    ports:
      - 5432:5432
    environment:
      POSTGRES_DB: pro
      POSTGRES_USER: admin
      POSTGRES_PASSWORD: example

  adminer:
    image: adminer
    restart: always
    ports:
      - 8080:8080

  app:
    image: maqi1520/cloneprocesson
    ports:
      - '3000:3000'
    environment:
      DATABASE_URL: 'postgresql://admin:example@db:5432/pro?schema=public'
      JWT_SECRET: 'xxxx'
      GITHUB_CLIENT_ID: 'xxxx'
      GITHUB_CLIENT_SECRET: 'xxxx'
      DOMAIN: 'http://localhost:3000'
      EMAIL_USER: 'xxxx@163.com'
      EMAIL_USER_NAME: 'xxxxx'
      EMAIL_HOST: 'smtp.163.com'
      EMAIL_PASS: 'xxxx'
    depends_on:
      - db

volumes:
  pg_data:
This configuration can be started locally using the docker-compose up -d command, but if you want to deploy it in a production environment and ensure high availability, you need to migrate it to Kubernetes. Next, we will describe how to complete this conversion.
Overview of Kubernetes cluster deployment
In Kubernetes, multiple resources are used to manage different components of an application. Unlike the single file of Docker Compose, Kubernetes uses multiple configuration files such as Deployment, StatefulSet, Service, ConfigMap, Secret, etc. to describe and manage containerized applications.
In order to transfer the above Docker Compose configuration to Kubernetes, we need the following key components:
- PostgreSQL StatefulSet: used to manage database containers and ensure data persistence.
- Deployment: used to deploy Node.js applications and Adminer to ensure application scalability.
- Service: provides access interfaces for applications inside and outside the cluster.
- Secret: used to store sensitive information (such as database credentials, API keys, etc.).
Step 1: Deploy PostgreSQL as StatefulSet
In Kubernetes, StatefulSet is used to manage stateful applications (such as databases). It ensures the persistence and stability of database instances. We first need to create a Secret to store database credentials, and then create a StatefulSet.
PostgreSQL Secret
apiVersion: v1
kind: Secret
metadata:
  name: postgres-secret
type: Opaque
data:
  DATABASE_URL: cG9zdGdyZXNxbDovL2FkbWluOmV4YW1wbGVAcG9zdGdyZXM6NTQzMi9wcm8/c2NoZW1hPXB1YmxpYw== # base64编码的 "postgresql://admin:example@postgres:5432/pro?schema=public"
  POSTGRES_DB: 'cHJv' # "pro" encoded in base64
  POSTGRES_USER: 'YWRtaW4=' # "admin" encoded in base64
  POSTGRES_PASSWORD: 'ZXhhbXBsZQ==' # "example" encoded in base64
In Kubernetes, it is common practice to encode the data in Secret using base64, but it is not required.
In Linux and macOS systems, you can use the base64 command. For example, to encode the string "postgresql://admin:example@postgres:5432/pro?schema=public", you can execute the following command in the terminal:
echo -n "postgresql://admin:example@postgres:5432/pro?schema=public" | base64
In Windows systems, you can use the [Convert]::ToBase64String([Text.Encoding]::UTF8.GetBytes("postgresql://admin:example@postgres:5432/pro?schema=public")) command in PowerShell.
Kubernetes Secret objects can store arbitrary data, but to ensure the security and readability of the data, some form of encoding or encryption is usually performed.
PostgreSQL StatefulSet
apiVersion: apps/v1
kind: StatefulSet
metadata:
  name: postgres
spec:
  serviceName: 'postgres'
  replicas: 1
  selector:
    matchLabels:
      app: postgres
  template:
    metadata:
      labels:
        app: postgres
    spec:
      containers:
        - name: postgres
          image: postgres:latest
          ports:
            - containerPort: 5432
          env:
            - name: POSTGRES_DB
              valueFrom:
                secretKeyRef:
                  name: postgres-secret
                  key: POSTGRES_DB
            - name: POSTGRES_USER
              valueFrom:
                secretKeyRef:
                  name: postgres-secret
                  key: POSTGRES_USER
            - name: POSTGRES_PASSWORD
              valueFrom:
                secretKeyRef:
                  name: postgres-secret
                  key: POSTGRES_PASSWORD
          volumeMounts:
            - name: pg-data
              mountPath: /var/lib/postgresql/data
  volumeClaimTemplates:
    - metadata:
        name: pg-data
      spec:
        accessModes: ['ReadWriteOnce']
        resources:
          requests:
            storage: 1Gi
By using StatefulSet, we ensure persistent storage and stable network identity of database data. Each replica can access persistent storage volumes.
PostgreSQL Service
apiVersion: v1
kind: Service
metadata:
  name: postgres
spec:
  ports:
    - port: 5432
  selector:
    app: postgres
Service is used to expose the PostgreSQL service so that the application can access the database through the cluster-internal DNS name postgres.
Step 2: Deployment and Secret for Node Application
Next, we create a Deployment for the Node.js application and manage sensitive data such as database URL, JWT key, and GitHub API credentials through Secret.
Application Secret
apiVersion: v1
kind: Secret
metadata:
  name: app-secret
type: Opaque
data:
  jwt-secret: 'YOUR_ENCODED_JWT_SECRET'
  github-client-id: 'YOUR_ENCODED_GITHUB_CLIENT_ID'
  github-client-secret: 'YOUR_ENCODED_GITHUB_CLIENT_SECRET'
Application Deployment
apiVersion: apps/v1
kind: Deployment
metadata:
  name: app
spec:
  replicas: 1
  selector:
    matchLabels:
      app: app
  template:
    metadata:
      labels:
        app: app
    spec:
      containers:
        - name: app
          image: maqi1520/cloneprocesson:latest
          ports:
            - containerPort: 3000
          env:
             - name: DATABASE_URL
              valueFrom:
                secretKeyRef:
                  name: app-secret
                  key: DATABASE_URL
            - name: JWT_SECRET
              valueFrom:
                secretKeyRef:
                  name: app-secret
                  key: jwt-secret
            - name: GITHUB_CLIENT_ID
              valueFrom:
                secretKeyRef:
                  name: app-secret
                  key: github-client-id
            - name: GITHUB_CLIENT_SECRET
              valueFrom:
                secretKeyRef:
                  name: app-secret
                  key: github-client-secret
Application Service
apiVersion: v1
kind: Service
metadata:
  name: app
spec:
  type: LoadBalancer
  ports:
    - port: 3000
  selector:
    app: app
Step 3: Adminer Deployment and Service
Finally, Adminer, as the database management interface, also needs to be deployed using Deployment and Service.
Adminer Deployment
apiVersion: apps/v1
kind: Deployment
metadata:
  name: adminer
spec:
  replicas: 1
  selector:
    matchLabels:
      app: adminer
  template:
    metadata:
      labels:
        app: adminer
    spec:
      containers:
        - name: adminer
          image: adminer:latest
          ports:
            - containerPort: 8080
Adminer Service
apiVersion: v1
kind: Service
metadata:
  name: adminer
spec:
  type: LoadBalancer
  ports:
    - port: 8080
  selector:
    app: adminer
Step 4: Deployment steps
Apply resources such as
SecretandDeploymentto the Kubernetes cluster:kubectl apply -f postgres-secret.yml kubectl apply -f postgres-statefulset.yml kubectl apply -f postgres-service.yml kubectl apply -f app-secret.yml kubectl apply -f app-deployment.yml kubectl apply -f app-service.yml kubectl apply -f adminer-deployment.yml kubectl apply -f adminer-service.ymlThis will start a PostgreSQL database instance and provide persistent storage for the database. The application will obtain sensitive information through
Secretand connect to the PostgreSQL database.Servicewill provide an entry point for external clients to access the Node.js application. Adminer will be exposed as a database management interface through the cluster'sLoadBalancer, allowing you to directly manage PostgreSQL data.
Step 5: Verify and monitor
After the deployment is complete, you can verify the operation of the cluster in the following ways:
Check whether all resources are created successfully:
kubectl get pods
kubectl get services
kubectl get statefulsets
Verify PostgreSQL connection:
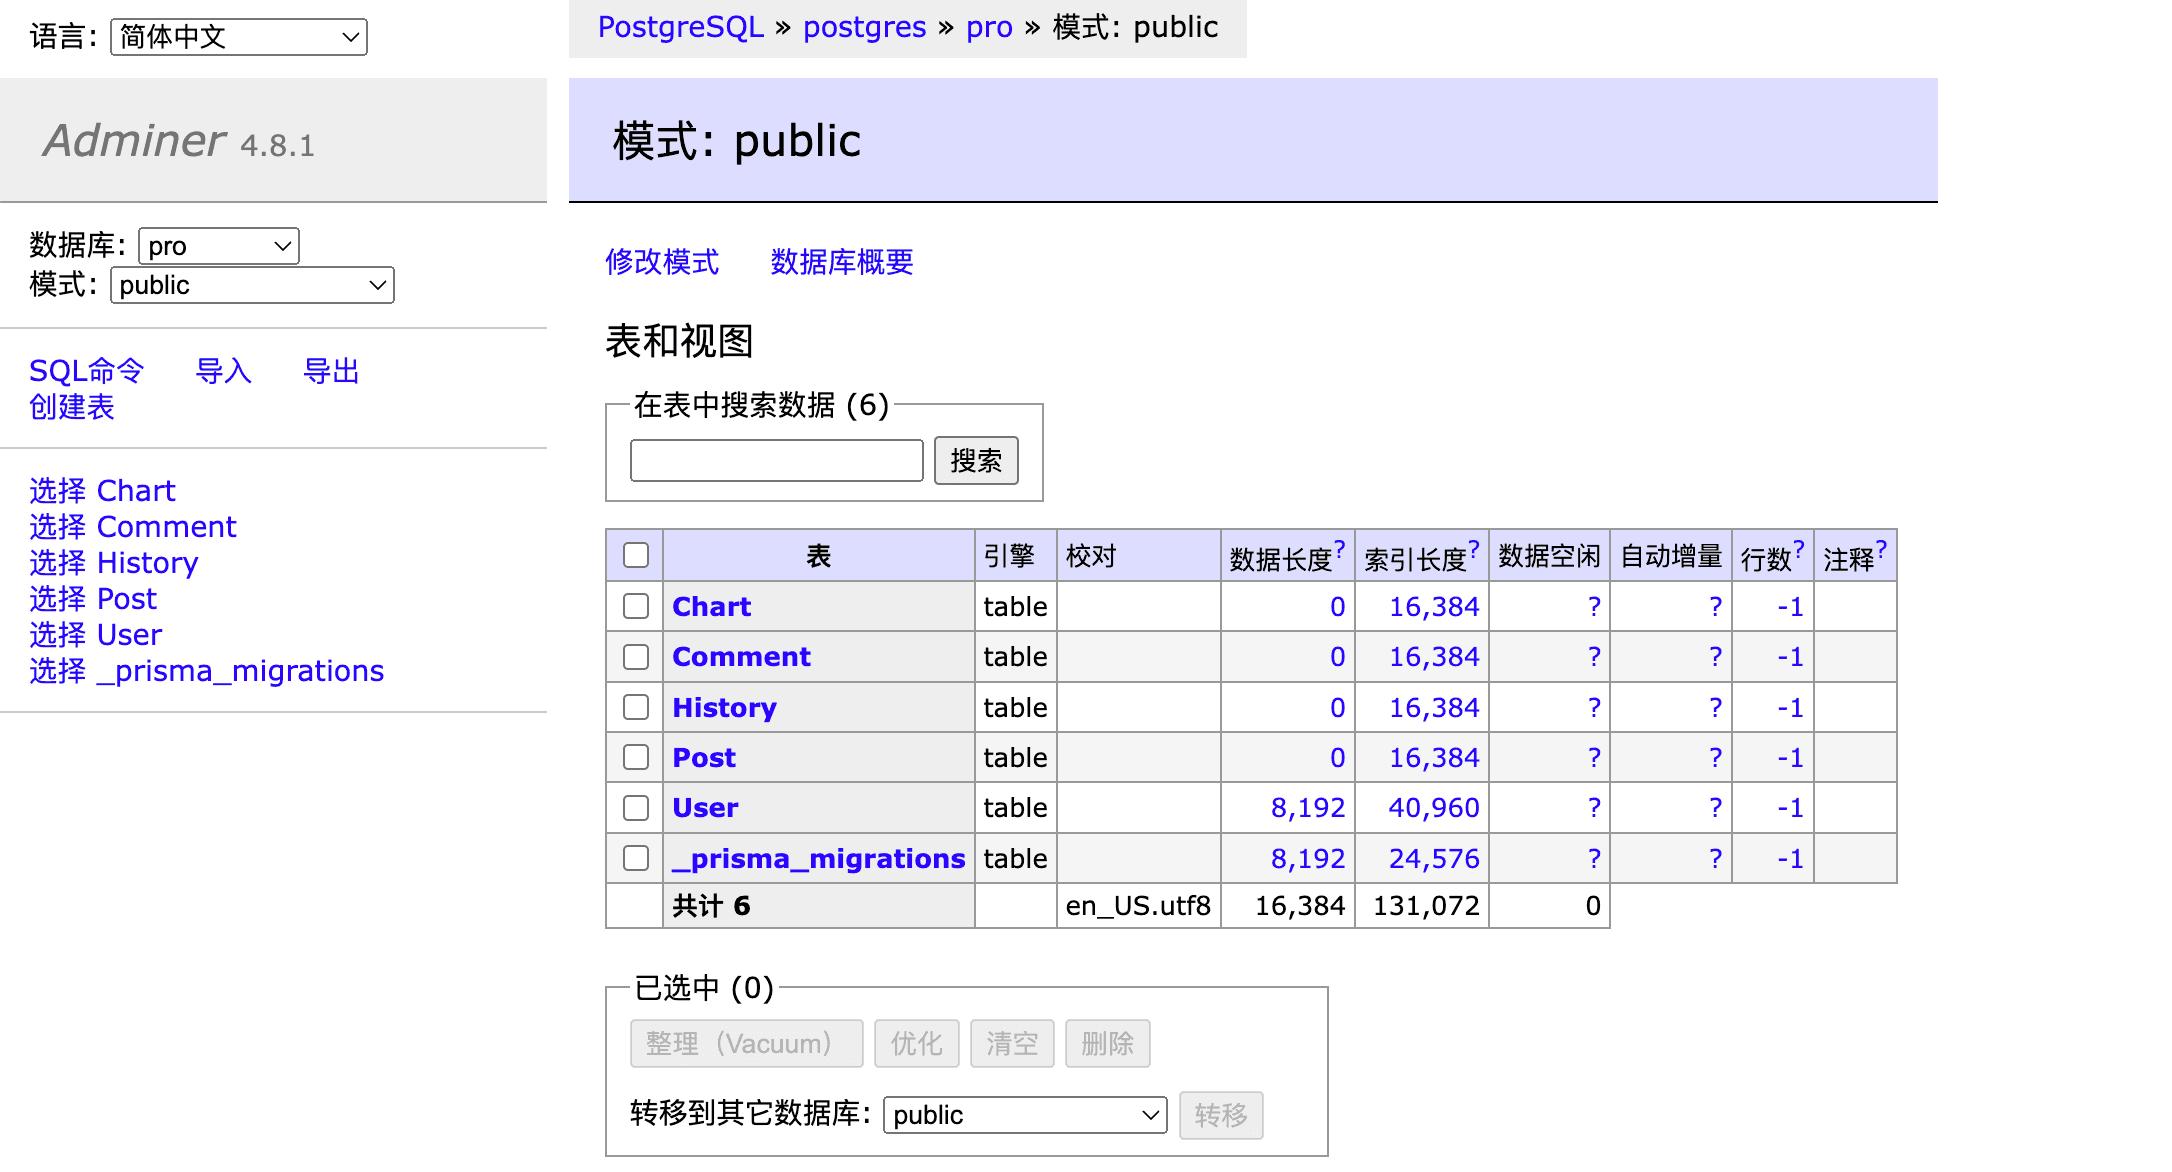
You can verify that the PostgreSQL database is working properly by accessing the Adminer service. You can use a browser to access http://<LoadBalancer_IP>:8080 and then log in using the database credentials in the Secret.
- Verify application connection:
Access the Service address of the Node.js application to see if the application can connect to the PostgreSQL database normally and start successfully.
If you use local deployment, you can use minikube service app to see the application address, which will automatically open the deployment url port.
Advantages of Kubernetes deployment
Compared to Docker Compose single-node deployment, Kubernetes clustered deployment has the following significant advantages:
High availability and fault tolerance: Kubernetes provides native automatic restart, container health check, horizontal expansion and other mechanisms, so that the application can automatically recover when problems occur.
Automatic expansion: You can automatically or manually expand the number of application replicas through Kubernetes according to changes in load to ensure that the application can handle more requests.
Rolling Update: With Kubernetes, you can implement rolling updates of applications and gradually replace old versions of containers without causing service interruptions.
Resource Allocation and Optimization: Kubernetes allows for more granular control of resource usage, such as CPU and memory, to ensure the rational use of cluster resources.
Secret and ConfigMap: With Secret and ConfigMap, Kubernetes provides a more secure and dynamic way to manage application configuration and sensitive information, avoiding hard coding of sensitive data in images or code.
Summary
Migrating the single-node deployment of Docker Compose to Kubernetes not only enables the application to smoothly transition from the local development stage to the production environment, but also improves the high availability, elastic expansion and security of the system through the cluster management capabilities provided by Kubernetes.
In this article, we migrated PostgreSQL, Adminer, and custom Node.js applications in Docker Compose configuration to Kubernetes, and learned how to use Kubernetes resources such as StatefulSet, Deployment, Secret, and Service to manage and deploy complex clustered applications. This approach can help you achieve more flexible, secure, and scalable container management in production environments.